The secret behind natural looking, fine resolution deep sky images
"Even the Hubble Space Telescope team
from NASA and ESA uses APF-R"
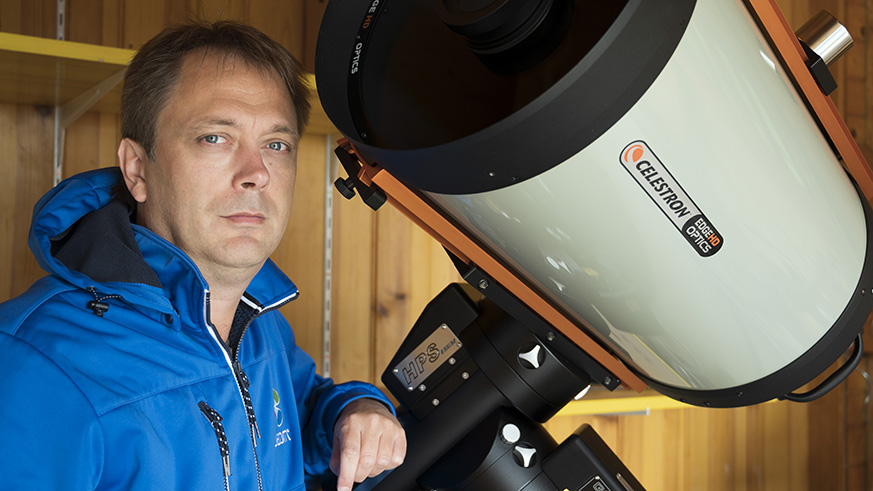
Christoph Kaltseis is a Photoshop expert and an experienced astrophotographer. In recent years, he has developed APF-R (Absolute Point of Focus), an innovative image sharpening process in Photoshop that has attracted considerable interest among experts. The Hubble Space Telescope team has been using his method for over 2 years. We have now developed the easy-to-use APF-R Photoshop plugin for Christoph's complex process. The tool sharpens images using APF-R with just a few clicks, even without much prior knowledge. The plugin has already proven many times that it can meet even the high quality standards in astrophotography. Today Christoph will talk about his experience in astrophotography and reveal the tricks he uses to get the finest details out of his stunning images.
PI: Hi Christoph, you have been in the photography world for many years, have made a name for yourself as an astrophotographer, you work as an ambassador for well-known companies and you’ve initiated many interesting topics in the industry. How did that come about?
Christoph: At the age of 5-6, space captivated me through the television series "Cosmos: A Personal Voyage". When I got the book for the series, the pictures fascinated me so much that I wanted to do something like that myself. I haven't been able to get away from it since.
PI: You seem to have found your calling. Your astro images are very successful and are regularly chosen as "Astronomy Picture of the Day". You brought us several of those. What does the first one show?
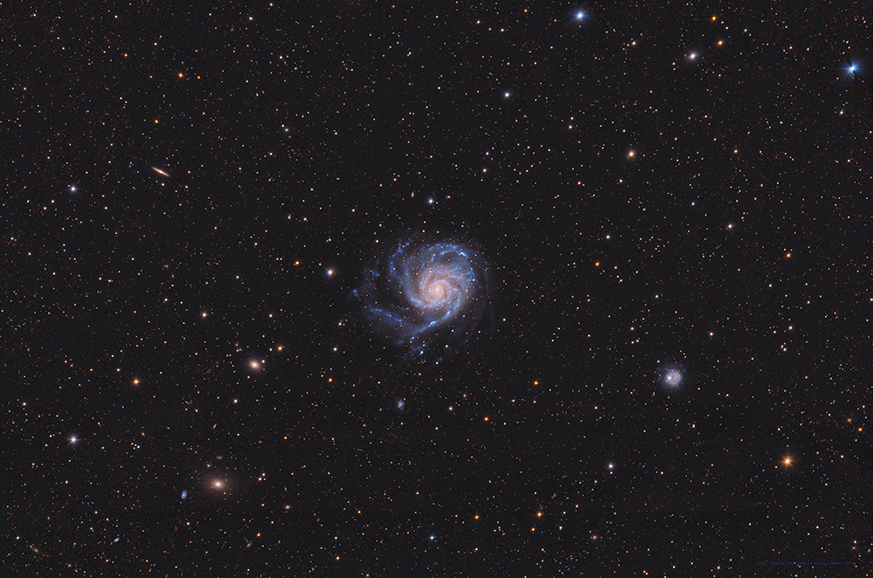
Christoph: The photo shows the spiral galaxy M101, which lies within the boundaries of the northern constellation Ursa Major, about 23 million light-years away. With a diameter of about 170,000 light-years, this galaxy is not only beautiful but also huge, almost twice the size of our own Milky Way. In addition to M101, we also see more distant background galaxies, foreground stars within the Milky Way and the companion dwarf galaxy NGC 5474, visible in the lower right. The colors of the Milky Way stars are also found in the starlight of the great island universe. Its core is dominated by the light of cool, yellowish stars. Along its magnificently designed spiral arms are the blue colors of hotter, young stars mixed with concealing dust trails and pink star-forming regions.
PI: With up to 45,000 daily image submissions, the following image of yours was also named "Astronomy Picture of the Day". What makes it so special?
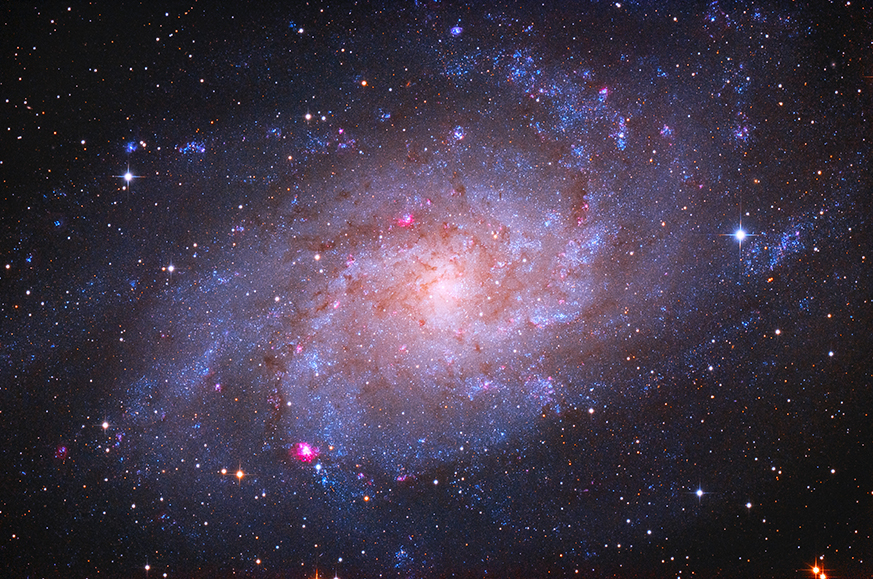
Christoph: The population of well-measured variable stars of M33 has helped make this nearby spiral a cosmic benchmark for determining the distance scale of the universe. M33 is located in the small, northern constellation Triangulum and is about 3 million light-years away from our Milky Way. With a diameter of over 50,000 light-years, it’s the third largest galaxy of the local group after the Andromeda Galaxy and our own Milky Way. This sharp image shows the blue star clusters and pink star forming regions along the loosely wound spiral arms of the galaxy. At the 7 o'clock position from the center of M33 the brightest star forming region NGC 604 is also visible.
PI: What equipment did you use to take these pictures?
Christoph: For the photo of M 101 I’ve used the Celestron RASA 36cm 792mm f2.2 and for the photo of M 33 the PlaneWave CDK 14 2536mm f7.2. Those two are some of my absolute favorites as well.
PI: That puts you right in the PRO range. Since when have you been professionally involved in astro photography?
Christoph: The subject of astronomy has always been a part of my life since childhood. In 2015 I’ve started using high-tech mounts from 10Micron through the distributor Baader Planetarium. I got really good at it and kind of became an ambassador. So I was able to work with the Celestron optics at almost 4000mm focal length with the mount doing all the work to compensate for Earth's rotation. After that I’ve added more and more optics. As the stillness of the air isn’t always constant enough to fit the oversampling number between the pixel resolution and the stillness of the air, I’ve also intensively dealt with RAW image data and the special format FITS, thus developed my own sharpening routine in Photoshop. I just always feel like trying new things and then really dig in.
PI: This is how your sophisticated image sharpening process APF-R was developed. What's the idea behind it?
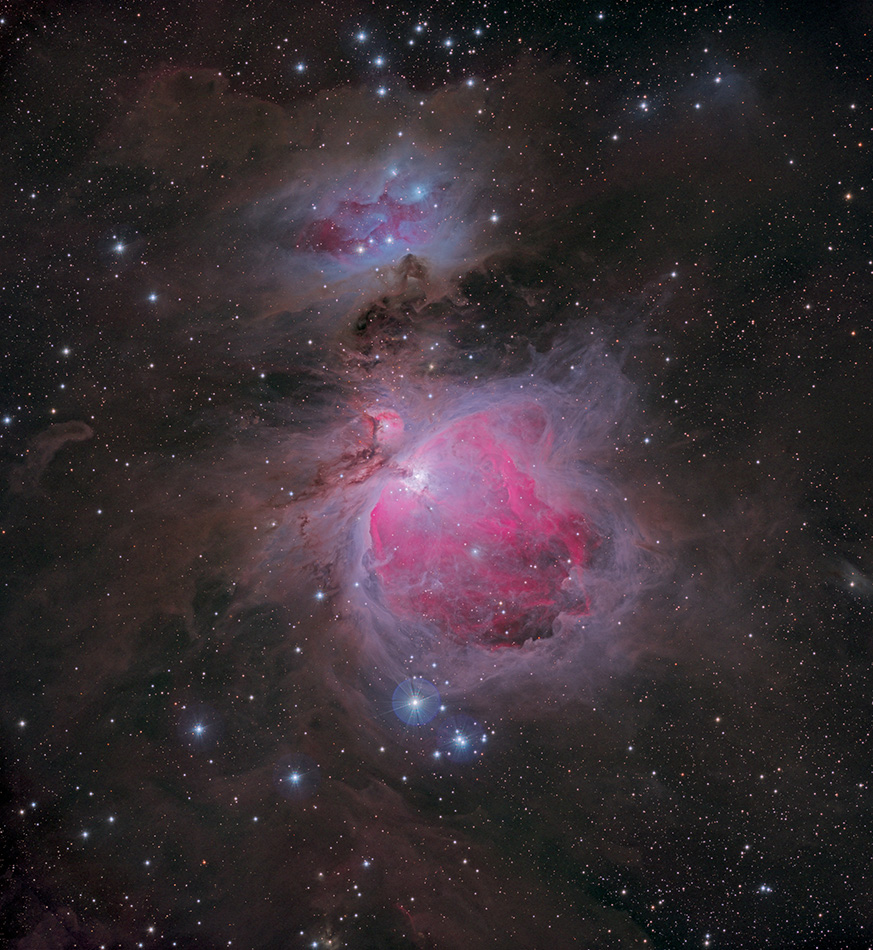
Christoph: The idea came from a customer. Something was needed to push the values back in case of blur. This turned into APF-R, basically nothing more than an “onion skin”. I basically peel out more and more of the image through the plane radius that I create and subtract. With this method I get a better point definition of brightness and therefore better sharpness. The better point definition also allows the eye to orient itself better and the image looks more spatial. I want to encourage people to consider what they see. Once that's clear, the rest will happen on its own. I am also attracted by the possibilities of automating this subject, because it can also be used to make quick checks, for example in precision engineering. I can see a lot of uses for this neat little tool. No matter what the image is, if the data is there, APF-R will be able to get more out of it. I captured the Orion nebula with a mono camera (QHY 600 Pro -M) in R/G/B as HDR dataset on chip. In total only 57 minutes were exposed at 620mm focal length with f2.2.
PI: When was the first time you spoke publicly about APF-R?
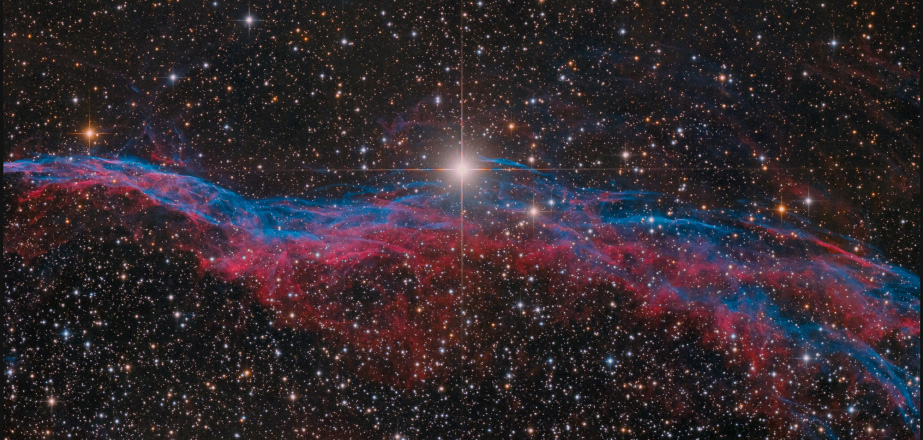
Christoph: I am the co-founder of the Central European Deepsky Imaging Conference, which has been held regularly every 2 years in Linz since 2009. That's where I first spoke about the APF-R process in 2015. After the conference, I’ve sent my method to the Hubble Space Telescope team. To the people at NASA and ESA, it sounded too good to be true. I was very happy when APF-R was first tested there for the 28th anniversary publication. The team chose a different method for this image back then, but APF-R has since become firmly established there and is used regularly. As far as I know, APF-R was last used for the "Picture of the Week" of March 29, 2021, called "Return to the Veil Nebula". The Veil Nebula is a popular subject for Hubble images and was featured in a previous release. The Veil Nebula is the visible part of the nearby Cygnus Loop, a supernova remnant formed about 10,000 years ago by the death of a massive star. The progenitor star of the Veil Nebula, which had 20 times the mass of the sun, lived fast and died young and ended its life in a cataclysmic release of energy. Despite this stellar violence, the shock waves and debris from the supernova shaped the delicate web of ionized gas in the Veil Nebula, creating a scene of surprising astronomical beauty. By applying APF-R to this image, the details of the emissions of doubly ionized oxygen (seen here in blue), ionized hydrogen and ionized nitrogen (seen here in red) are now much more visible.

PI: Then in 2018 you were at the Hubble Space Telescope office in Munich. What were you able to take away from your visit there?
Christoph: Well, after APF-R was used for the publication, I just had to talk to the people there. They use Photoshop there and I got a deep insight into their processes and learned a lot about different image extraction methods. The team is constantly looking for ways to improve processes. That's my approach as well.
PI: What ultimately made you want to automate the APF-R process? You have been involved in photography since your youth, in 2006 you were awarded "Best Newcomer" by Adobe and since then you have been deeply involved in the Adobe world. Is your own Photoshop plugin the logical conclusion?
Christoph: I’ve received feedback from Mahdi Zamani from the ESA Hubble Space Telescope team that he tried APF-R on an HST mosaic and it worked about 30% better than any other technique they tested for sharpening anything from midtones to shadows. Manually, up to 50 steps have to be performed in Photoshop to create and subtract layers and the radii have to be calculated again and again with a calculator. In the end you get countless nested layers, of which, in order to compare results, you often have to change several settings at the same time. So the whole thing is a very time-consuming and complex affair, others might even call it nerdy. APF-R is really powerful, which has now been proven by different experts in their field. That's why I would rather call it serendipity that we joined forces to simplify APF-R with a plugin. Because you will always be able to get something more out of every image with APF-R. Due to the simple and fast use of the plugin, it is now possible for amateurs as well as for professionals to apply the APF-R method to all images and that makes me very happy.
PI: You use pretty professional equipment. What is possible with hobby equipment?
Christoph: I have to admit that I can do a lot of work from my home, so a lot of things are easier than constantly traveling to very good "dark sky" places around the world. With NGC 2841 I got very close with hobby equipment. For Europe this is one of the best long time measured seeings I know of, but I haven't published it yet. The image was a hardware test for a new camera with a cooled Sony BSI chip, which uses a monochrome chip and RGB color filters. But for this image completely new and final prototypes of an ultra-narrow band filter with 3.5nm in hydrogen (H-Alpha) and 4nm in oxygen (OIII) were used. The equipment is essential, but starting from a certain segment you can already get very good results. What I would really advise everyone to do is to tinker intensively with the image data. Always ask yourself, what you actually see in the image data. And if you're afraid to go the manual route to get even the finest details from any image, then you now have the APF-R plugin for split-second results.
PI: Do you apply APF-R to other photos of yours or just to your deep sky images?
Christoph: Honestly, until I had the plugin, I tested it again and again on other images, but due to lack of time, APF-R was unfortunately only used on very special images. With the plugin, of course, it’s different now. It's really amazing how the plugin is able to conjure up incredible details in no time and really from any image. Our numerous tests during the development of the plugin have proven that it really works.
PI: Christoph, thank you very much for taking the time to talk to us.
Christoph: I thank you and look forward to hearing from you again soon.
PI: You certainly will!
You can find out more about Christoph Kaltseis and his APF-R process via the following links:
www.cedic.at
www.cedic.at/apfr
Do you want to be informed about new stories and plugins for Photoshop? Then sign up for the Picture Instruments newsletter
➔ Then sign up for the Picture Instruments newsletter